
Setting up a freshwater shrimp tank is one of the most rewarding nano-aquarium projects in the hobby, but success hinges on one decision the average beginner guide skips: which genus of shrimp you keep. Neocaridina (cherry, blue velvet, yellow) and Caridina (crystal red, taiwan bee) need fundamentally different water chemistry. Get that right and shrimp keeping is genuinely easy. Get it wrong and you’ll lose the colony in weeks.
This guide walks you through the entire setup from tank size to first feeding, with specific water parameters for each genus, the filter type that’s actually mandatory (not optional) for breeding success, the medication-safety rules that prevent the #1 cause of accidental shrimp mortality, and the cycling timeline that determines whether your colony thrives or crashes.
Disclosure: This post contains affiliate links. If you purchase through a link on this page, we may earn a small commission at no extra cost to you. We only recommend products we’d use in our own tanks.
Step 1: Choose Your Genus (Neocaridina vs Caridina)
This is the single most consequential decision in the entire setup, and it determines almost every other parameter that follows.
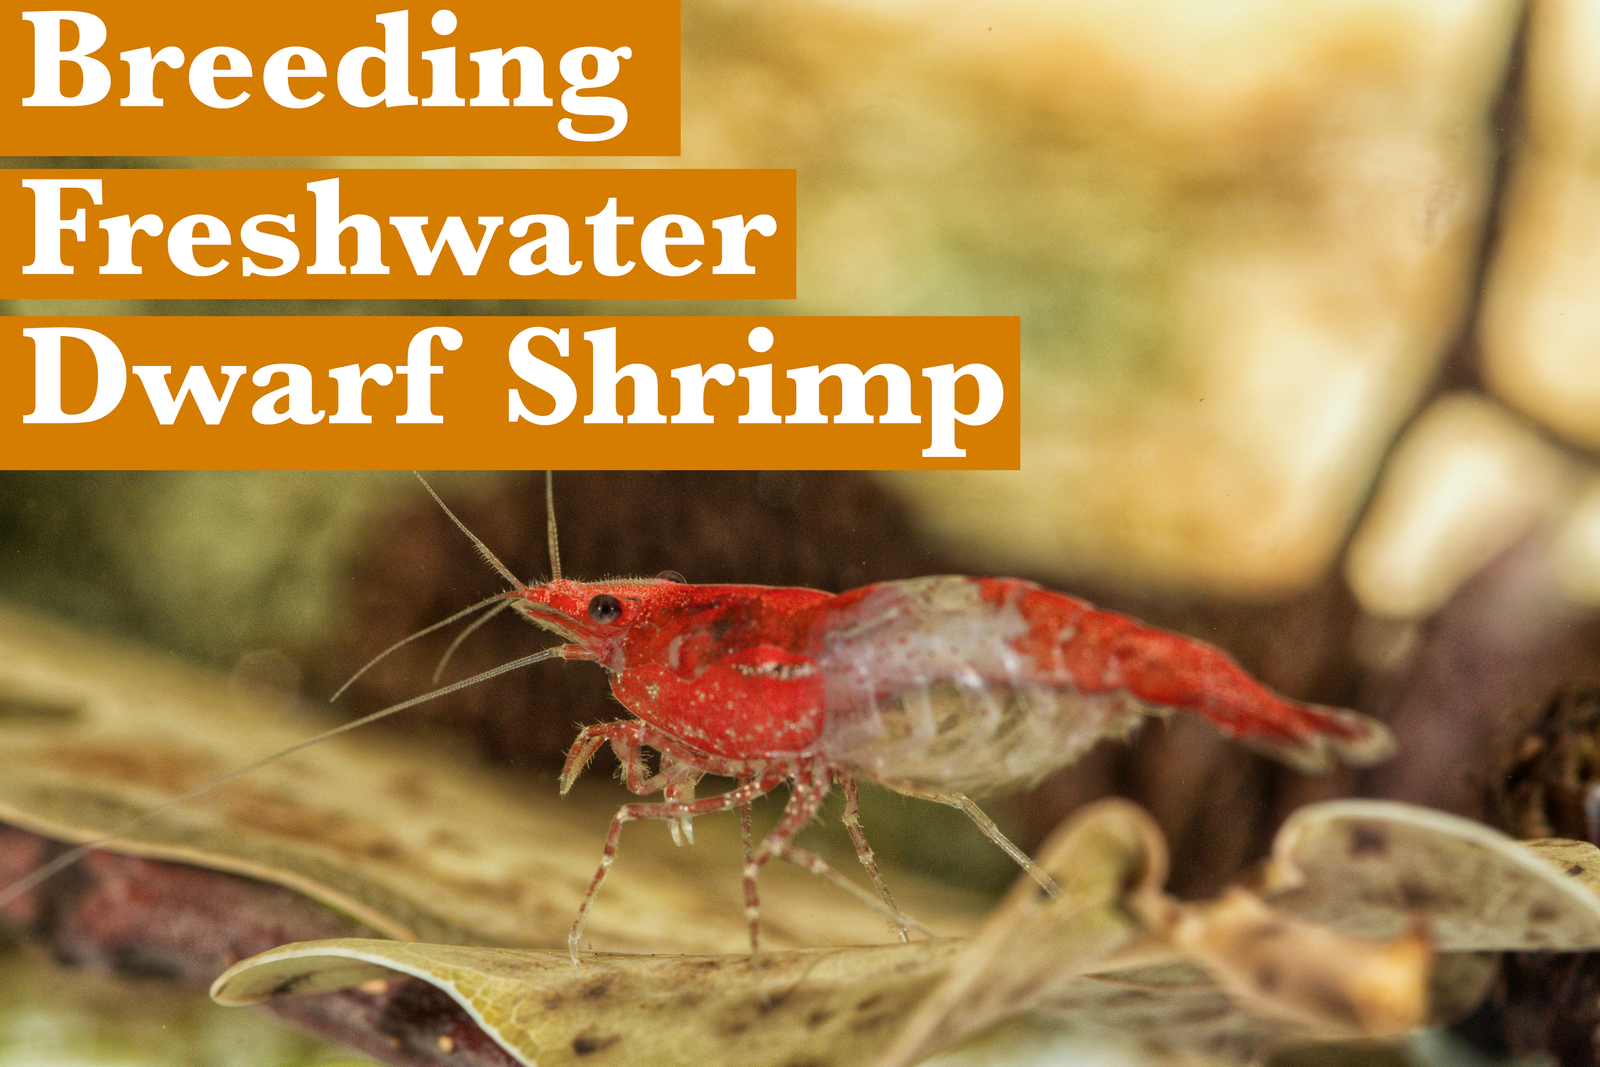
Neocaridina species (cherry shrimp, blue velvet, yellow shrimp, bloody mary, blue dream) tolerate broad water chemistry. They thrive in slightly hard, neutral-to-alkaline tap water that ships out of most municipal systems. They’re forgiving of beginner mistakes. This is what you want for your first shrimp tank.
Caridina species (crystal red, crystal black, taiwan bee, black king kong, panda) require soft, acidic water with near-zero carbonate buffering. Tap water with any meaningful KH will kill them within weeks. They require RO/DI water plus mineral remineralization, meaning extra equipment, extra cost, extra precision. Save them for your second tank.
| Parameter | Neocaridina (cherry) | Caridina (crystal red) |
|---|---|---|
| Beginner-friendly? | Yes | No |
| Tap water compatible? | Often | Rarely (RO/DI required) |
| pH | 6.5–8.0 | 5.8–6.8 |
| GH | 6–12 dGH | 4–6 dGH |
| KH | 2–8 dKH | 0–1 dKH |
| TDS | 200–400 ppm | 100–200 ppm |
| Temperature | 70–78 °F | 68–74 °F |
| Cost per shrimp | $1–10 | $5–500+ |
Step 2: Tank Size and Shape
Minimum recommended size: 10 gallons.
Smaller tanks (5-gallon nano cubes) can technically work, but parameter swings are amplified, biofilm production is limited, and a single feeding mistake can crash an entire colony. The 10-gallon minimum gives you enough water volume to absorb mistakes during the inevitable beginner learning curve.
Tank shape matters too. Shrimp graze along horizontal surfaces (substrate, decorations, glass) far more than they swim through the water column. A standard 20″ × 10″ × 12″ “10-gallon breeder” footprint beats a 14″ tall “10-gallon column” of identical volume because the breeder format provides 60% more grazing surface area for biofilm production.
For serious breeding colonies, a 20-gallon long (30″ × 12″ × 12″) is the sweet spot. More water buffers parameters; more substrate surface generates more biofilm.
Step 3: Equipment Checklist
For a 10-gallon Neocaridina setup:
| Item | Notes | Cost |
|---|---|---|
| Tank | 10-gal breeder format preferred | $20–50 |
| Sponge filter | Aquarium Coop, Hydor, or AquaClear | $10–25 |
| Air pump | With check valve to prevent backflow | $15–30 |
| Heater | 50W adjustable, not preset | $20–40 |
| Thermometer | Digital or stick-on; verify heater accuracy | $5 |
| LED light | Modest output sufficient for plants | $25–80 |
| Substrate | 10–15 lbs; type depends on genus (see Step 7) | $15–80 |
| Liquid test kit | API Master Test recommended | $30 |
| TDS meter | HM Digital pen is fine | $15–25 |
| Dechlorinator | Seachem Prime; lasts months | $10 |
| Hardscape | Driftwood, cholla, Indian almond leaves | $15–40 |
| Plants and moss | Java moss, Anubias, Java fern | $10–30 |
Total: $200–450 for a complete Neocaridina setup. Caridina setups add another $200–400 for an RO/DI system and active aquasoil substrate.
Step 4: Best Filter for Shrimp Tanks
Sponge filters are not optional for breeding shrimp tanks. They are mandatory.
The reason isn’t biological filtration capacity, since many filter types provide adequate biological filtration. The reason is suction safety: shrimplets at hatching are 1–2 mm long and get pulled into HOB and canister intakes. Without intake protection, you can lose entire generations of fry without ever seeing them.
Sponge Filters (Mandatory for Breeding)
A sponge filter is a porous foam block with a rigid lift tube connected to an air pump via airline tubing. Air bubbles rising up the tube create gentle water flow through the sponge. Beneficial bacteria colonize the foam, providing biological filtration. The foam also captures debris (mechanical filtration).
Why sponge filters are ideal for shrimp: zero suction (shrimplets cannot be harmed), excellent biological filtration as the sponge develops a bacterial colony, cheap ($10–25), can run on battery air pump during power outages, and easy maintenance (monthly squeeze in tank water; never tap water, since chlorine kills the bacteria).
For a 10-gallon tank, a single small sponge filter is sufficient. For 20+ gallons, dual sponge filters provide redundancy.
HOB (Hang-on-Back) Filters
Hang-on-back filters are popular general-purpose aquarium filters. They can be used in shrimp tanks with one critical modification: a pre-filter sponge fitted over the intake. Without the pre-filter sponge, juveniles get sucked in.
Even with a pre-filter sponge, HOB filters cannot match a sponge filter’s safety margin. Use HOB filters only as supplemental flow alongside a sponge filter, never as the primary filtration in a breeding tank.
Canister Filters
Canister filters work similarly: large media volume, excellent flow, but the same intake suction problem. Pre-filter sponge mandatory. Most shrimp keepers skip canisters entirely for tanks under 30 gallons because sponge filters are simpler, cheaper, and safer.
Undergravel Filters
The 2017 version of this guide listed undergravel filters as a top option. We’ve revised that recommendation. Undergravel filters work mechanically but make later substrate changes (necessary for Caridina tanks every 12–24 months as aquasoil is depleted) extremely difficult. Modern shrimp keepers nearly universally use sponge filters instead.
Step 5: Lighting
Lighting requirements depend on whether you’re running a planted shrimp tank.
For non-planted shrimp tanks, any LED aquarium light works. Modest output is fine. Photoperiod 8–10 hours daily.
For planted shrimp tanks, match the light to your plant choices:
| Plant Type | Light Output |
|---|---|
| Low-light (Anubias, Java fern, Java moss, Cryptocoryne) | Standard 6–10W LED |
| Medium-light (Bucephalandra, dwarf hairgrass) | 15–25W LED, full spectrum (5000–6500K) |
| High-light demanding carpets (HC, Glossostigma) | Not recommended |
Step 6: Heater
A heater is mandatory for nearly all shrimp species. Both Neocaridina and Caridina prefer narrow temperature ranges, and ambient room temperature in most homes drifts too widely (especially overnight) without heater stabilization.
Sizing rule: 3–5 watts of heater capacity per gallon of water.
| Tank Size | Heater Wattage |
|---|---|
| 10 gal | 25–50W |
| 20 gal | 75–100W |
| 29 gal | 100–150W |
Use an adjustable thermostat heater, not a preset model. Set to 74 °F for Neocaridina; 70 °F for Caridina.
For larger tanks (40+ gallons), use two heaters at half wattage each, placed at opposite ends. If one fails, the other prevents catastrophic temperature crash.
Step 7: Substrate (Active vs Inert)
Substrate choice depends entirely on which genus you’ve chosen. This is where Neocaridina and Caridina diverge most expensively.
Neocaridina: Inert Substrate Works
For cherry, blue velvet, yellow, and other Neocaridina species, inert substrate is fine. Pool filter sand, fine gravel, or aquarium-specific inert substrates (Seachem Flourite, CaribSea Eco-Complete) all work. Your tap water provides the minerals shrimp need; the substrate doesn’t need to do anything chemistry-wise.
Common choices include pool filter sand ($5–15, looks natural), black diamond blasting sand ($10–20, modern aesthetic; rinse extensively), and CaribSea Eco-Complete ($30–60, planted-tank-friendly).
Caridina: Active Aquasoil Mandatory
For crystal red, taiwan bee, and other Caridina species, you must use active aquasoil: a substrate that buffers pH downward (toward 5.8–6.5) and binds calcium/magnesium ions to keep KH near zero. Without this, your tap water will push pH up to 7+ and kill the colony.
Approved options: ADA Amazonia ($50–80 per 9L bag, premium standard), Fluval Stratum ($25–40), UNS Controsoil ($40–60), Tropica Aquarium Soil ($35–55).
Step 8: Water Parameters by Genus
Use a liquid test kit (API Master Test or similar) for accuracy. Test strips are unreliable at the precision shrimp tanks require.
A TDS meter ($15–25 for a HM Digital pen) is also essential. TDS drift catches problems that pH alone misses.
Neocaridina Target Ranges
| Parameter | Target |
|---|---|
| pH | 6.8–7.5 |
| GH | 6–12 dGH |
| KH | 2–8 dKH |
| TDS | 200–400 ppm |
| Ammonia | 0 ppm |
| Nitrite | 0 ppm |
| Nitrate | <20 ppm |
| Temperature | 70–78 °F |
Caridina Target Ranges
| Parameter | Target |
|---|---|
| pH | 5.8–6.5 |
| GH | 4–6 dGH |
| KH | 0–1 dKH (critical, must be near zero) |
| TDS | 100–200 ppm |
| Ammonia | 0 ppm |
| Nitrite | 0 ppm |
| Nitrate | <10 ppm |
| Temperature | 68–74 °F |
For Caridina tanks, plan to remineralize RO/DI water with a product like Salty Shrimp Bee Shrimp Mineral GH+ before each water change. The product adds calcium and magnesium without raising KH, keeping pH stable in the acidic range Caridina need.
Step 9: Hardscape and Plants for Biofilm
Biofilm is the primary food source for shrimplets and a major food source for adults. Biofilm is the colony of bacteria, microscopic algae, fungi, and protozoa that colonizes underwater surfaces. You cannot buy it, you cultivate it. And you cultivate it through hardscape, leaves, and plants.
Recommended biofilm-supporting additions to every shrimp tank:
| Item | Why It Matters |
|---|---|
| Cholla wood | Dried cactus skeleton; porous, decomposes slowly, hosts biofilm aggressively. $5–10 per piece. |
| Indian almond leaves (Catappa) | Release tannins, support biofilm, mild antimicrobial. 1 leaf per 5–10 gallons. Replace every 4–6 weeks. |
| Alder cones | Longer-lasting tannin source than Catappa. 1 cone per 5–15 gallons. |
| Driftwood | Mopani, Spider, Manzanita; biofilm substrate plus aesthetic. |
| Live mosses | Java moss, Christmas moss, Weeping moss; cover hardscape, host shrimplets, capture food particles. |
| Anubias and Java fern | Low-maintenance attached plants compatible with all shrimp species. |
Step 10: Cycle the Tank for 4 to 6 Weeks (Mandatory)
Cycling is non-negotiable. Adding shrimp to an uncycled tank causes ammonia exposure that’s lethal within days.
Set up your tank fully (substrate, hardscape, filter running, heater on, plants in) and then leave it for 4–6 weeks before introducing shrimp. During this time:
Bacterial colonization: nitrifying bacteria establish on filter sponge, substrate, and hardscape surfaces. They convert ammonia to nitrite to nitrate.
Biofilm growth: the white-yellow film that develops on driftwood and leaves over weeks is biofilm establishing, exactly what you need.
Parameter stabilization: Caridina aquasoil in particular leaches ammonia for the first 3–4 weeks; this must complete before shrimp go in.
To accelerate cycling, add a bacteria starter (Tetra SafeStart, Seachem Stability, or Fritz Zyme 7) to shorten cycling to 1–2 weeks; seed your filter with sponge from an established mature aquarium (instant cycle if available); add a small amount of fish food every other day to feed the developing bacteria; and test weekly for ammonia and nitrite (both must read 0 ppm consistently for a week before stocking).
After cycling, do a 50% water change to reduce accumulated nitrate, then proceed to acclimation.
Step 11: Acclimation and First Stocking
Shrimp are extraordinarily sensitive to parameter changes during transfer. Use drip acclimation, never the float-the-bag method that works for fish.
Step 1: Float the bag (sealed) in your tank for 15–20 minutes to match temperature.
Step 2: Pour bag contents (water + shrimp) into a clean container.
Step 3: Use airline tubing as a siphon from your tank to the container; tie a knot in the line to slow flow to about 2 drops per second.
Step 4: Allow the container to fill until volume has roughly tripled (typically 60–90 minutes).
Step 5: Net the shrimp gently into the tank. Do not pour the acclimation water in. Discard it.
Initial stocking density: 5–10 shrimp per 10 gallons in a freshly cycled tank. The colony will grow naturally over 6–12 months. Stocking too aggressively early stresses the new bacterial colony and crashes parameters.
Step 12: Diet
Shrimp are scavengers and omnivores. In a properly biofilm-rich tank, they need supplemental feeding only 2–3 times weekly, not daily.
| Food | Notes |
|---|---|
| Commercial shrimp pellets | Bacter AE, Shrimp King, GlasGarten, Hikari Shrimp Cuisine. Balanced nutrition with carotenoids that enhance shrimp coloration. |
| Blanched vegetables | Zucchini, spinach, kale (boiled 30 seconds, cooled, weighted in tank). Remove uneaten portions after 24 hours. |
| Indian almond leaves | Technically not “feeding” but the biofilm leaves develop is a continuous food source. |
| Powdered fry food | Bacter AE, Shirakura. Micro-particles for newly hatched shrimplets. |
Step 13: The #1 Shrimp Killer (Medication Safety)
This section didn’t exist in the 2017 article, and its absence has cost generations of shrimp keepers their entire colonies. The #1 cause of accidental shrimp death is medication or chemical exposure, not water parameters, not disease, not feeding mistakes.
Absolutely Lethal (Do Not Use in Any Shrimp Tank)
| Substance | Why It Kills |
|---|---|
| Copper-based medications (Coppersafe, Cupramine, Copper Sulfate) | Lethal at 0.1–0.2 ppm, far below fish-treatment doses. Interferes with hemocyanin (the copper-based blood protein in shrimp). Residual copper from old fish-medication use can leach from substrate or decor for months. |
| Salt baths (1–3% salinity) | Lethal within minutes. Osmotic shock dehydrates cells immediately. |
| Formaldehyde / formalin | Acute gill damage and rapid mortality. |
| Malachite green | Highly toxic at fish-treatment doses. |
High-Risk (Use With Extreme Caution if at All)
| Substance | Notes |
|---|---|
| Glutaraldehyde / liquid carbon (Seachem Excel, EasyCarbo) | Caridina particularly sensitive. Use 50% dose maximum if at all. |
| Praziquantel (de-wormer) | Tolerated by adult shrimp at full dose but stresses molting. |
Step 14: Tankmates
The honest answer: dedicated shrimp-only tanks have the highest success rates. Fish that “won’t eat shrimp” still eat shrimplets. Fish that “tolerate shrimp” still cause stress that suppresses breeding. For breeding success, run a shrimp-only tank with no fish.
If you want a community tank that includes shrimp:
| Species | Compatibility | Notes |
|---|---|---|
| Otocinclus catfish | Good | Peaceful algae eaters that ignore shrimp. The safest fish tankmate. |
| Pygmy corydoras / ember tetras / chili rasboras | Caution | Small, peaceful, but will still eat shrimplets. Dense planting helps. |
| Bettas | Caution | Will sometimes attack shrimp; results vary by individual betta. See Can Betta Fish Live with Shrimp? |
| Cichlids, gourami, larger tetras, fish over 2 inches | Avoid | Will eat adult shrimp. Hard no. |
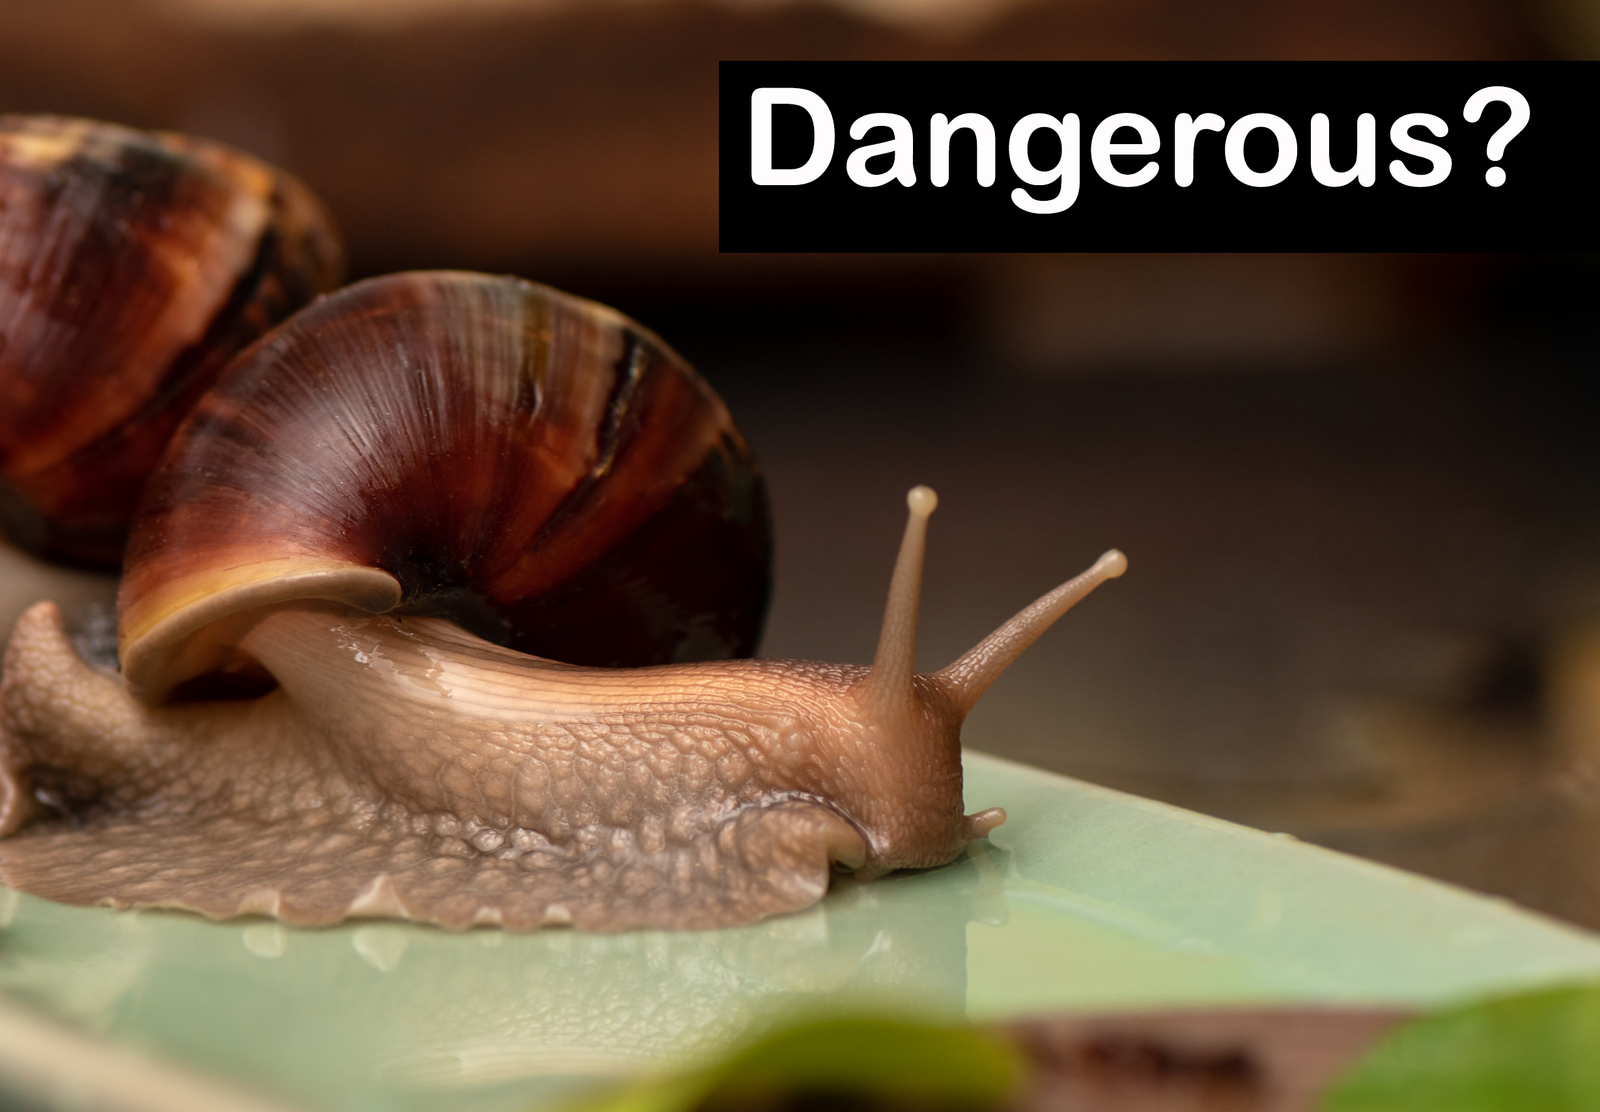
| Snails (nerite, mystery, ramshorn, assassin) | Good | Universally compatible with shrimp. Nerites are excellent algae cleanup. |
Common Mistakes
After running through the setup, the seven most common mistakes new shrimp keepers make:
| Mistake | Consequence |
|---|---|
| 1. Mixing Caridina and Neocaridina | Incompatible water needs, hybrid sterility. |
| 2. Tap water for Caridina without RO/DI | KH > 1 kills the colony in weeks. |
| 3. HOB filter without pre-filter sponge | Shrimplets get pulled into the intake. |
| 4. Adding shrimp to an uncycled tank | Ammonia exposure is lethal. |
| 5. Copper-based medications | Trace copper kills shrimp at 0.1 ppm. |
| 6. Overfeeding | Excess food spikes ammonia. |
| 7. Stocking too heavily too soon | New bacterial colonies can’t handle high bioload immediately. |
Final Thoughts
Setting up a successful shrimp tank is more about discipline in the first 4–6 weeks than technical complexity. Pick the right genus for your tap water, cycle the tank fully, cultivate biofilm, and avoid medication contamination. After that, shrimp colonies are largely self-managing.
Most successful shrimp keepers describe their tanks as “the easiest aquariums I own”, but only after the initial setup phase is done correctly. Skipping cycling, ignoring the genus distinction, or contaminating the tank with copper destroys colonies that took months to establish.